How to change language in Windows?
Windows Ultimate/Enterprise systems have a built-in ability to install the selected language for the operating system. These are the only versions with this option, which is why other systems require the use of additional tools. Programs available on the market with which you can perform such an operation in a few steps. The following entry shows how to change the language in Windows using Vistalizator.
Step by step
1. Please visit the Vistalizator program website.
2. Go to the download download tab and download Vistalizator.

3. Then download the language below by selecting the appropriate system version and the language on the next subpage:


4. If in doubt about the system version, open “My Computer” and right-click “Properties”.

5. Then download the third and last file: Windows Update Agent for the appropriate version of Windows.

6. Once everything is downloaded, you can start the Vistalizator program. The program window has a list of Windows languages. Click the “Add language” button to add the previously downloaded language file.

7. Then confirm with “OK” and “Install language”. After loading the file in several stages, an additional language will appear in the list. Finally, you may be asked if the newly installed language should be the default – you can choose “Yes”.
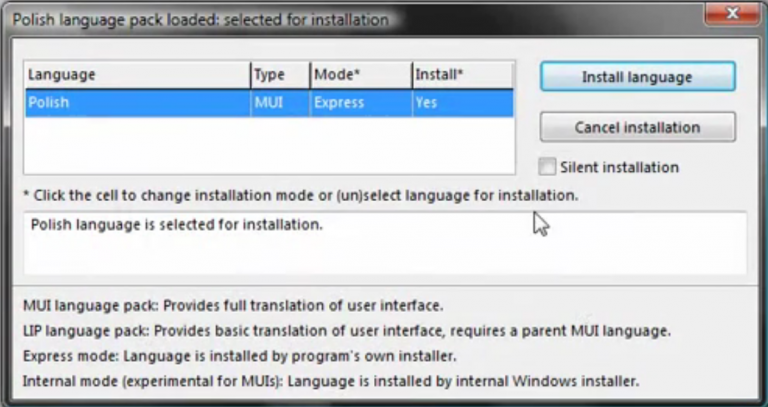
8. The next step is to update the language. Choose the language from the list and click “Update languages” to download and download the Windows Update Agent file. In case it has been previously loaded or is not needed, the program will display relevant information.

9. Choose a language from the list and click “Change language” and “Exit”, then restart your computer.
10. If there is no effect, restore the previous language as per the previous step, and then set the new language again.
From this point, Windows works in the newly selected language.

